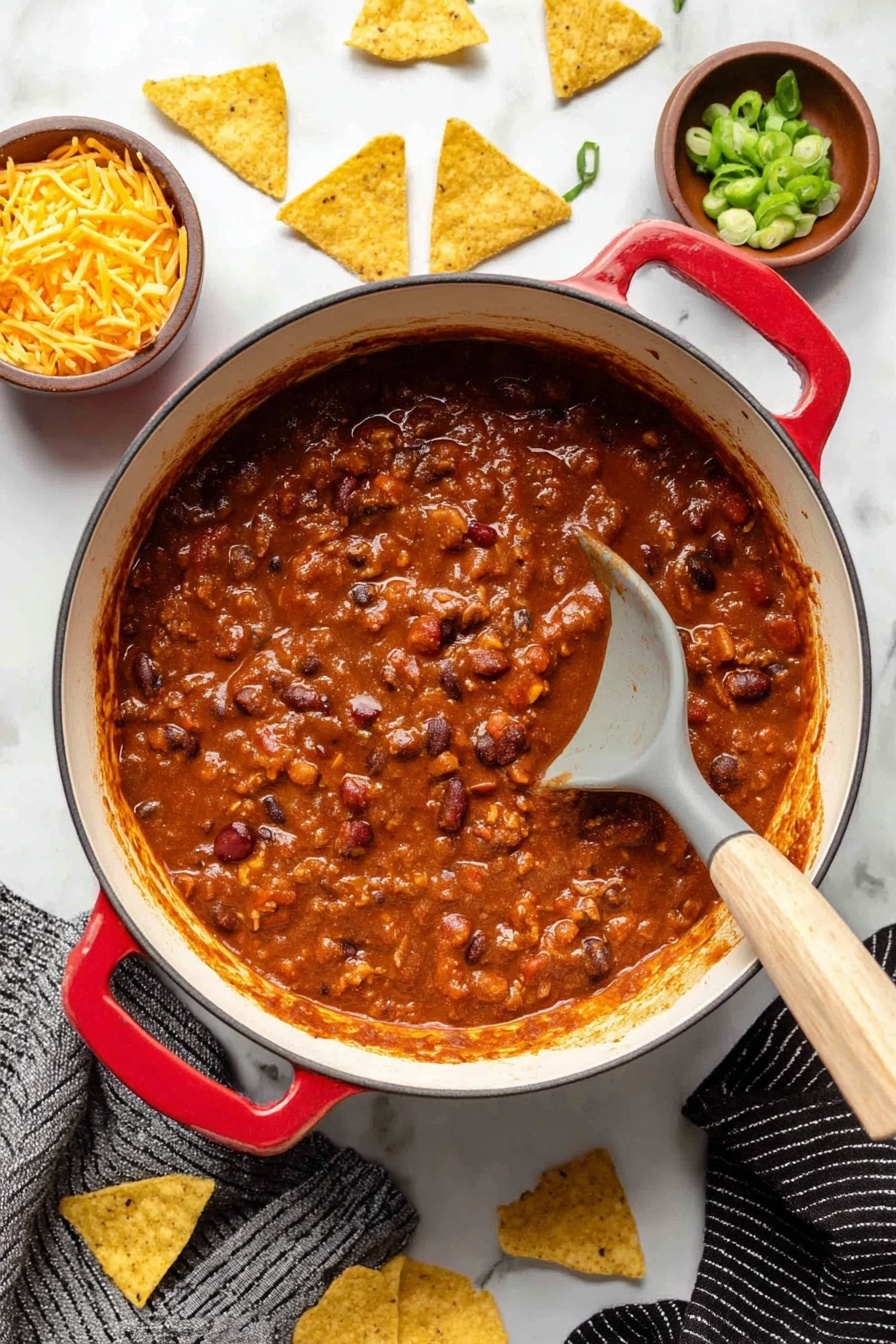
There’s something truly cozy and unexpected about a chili that’s packed with pumpkin — it adds a subtle sweetness and creamy texture that just works perfectly. This Pumpkin Chili Recipe is my go-to when I want comfort food that feels a bit different but is just as hearty and satisfying as classic chili.
Jump to:
Why You'll Love This Recipe
I’m pretty sure you’re going to adore this Pumpkin Chili Recipe for how it cleverly brings fall flavors into a classic dish you probably already love. Plus, it’s super straightforward, making it perfect for weeknights or when you want to impress folks with something just a bit different.
- Unexpected Flavor Boost: Pumpkin adds a subtle sweetness and richness that balances the spices beautifully.
- Simple Ingredients: You likely have most on hand, plus it comes together quickly—ideal for busy evenings.
- Protein and Fiber Packed: Thanks to ground beef and beans, you’ll feel full and satisfied without heaviness.
- Flexible & Customizable: Easy to tweak spice levels or swap ingredients depending on your pantry or preferences.

Ingredients & Why They Work
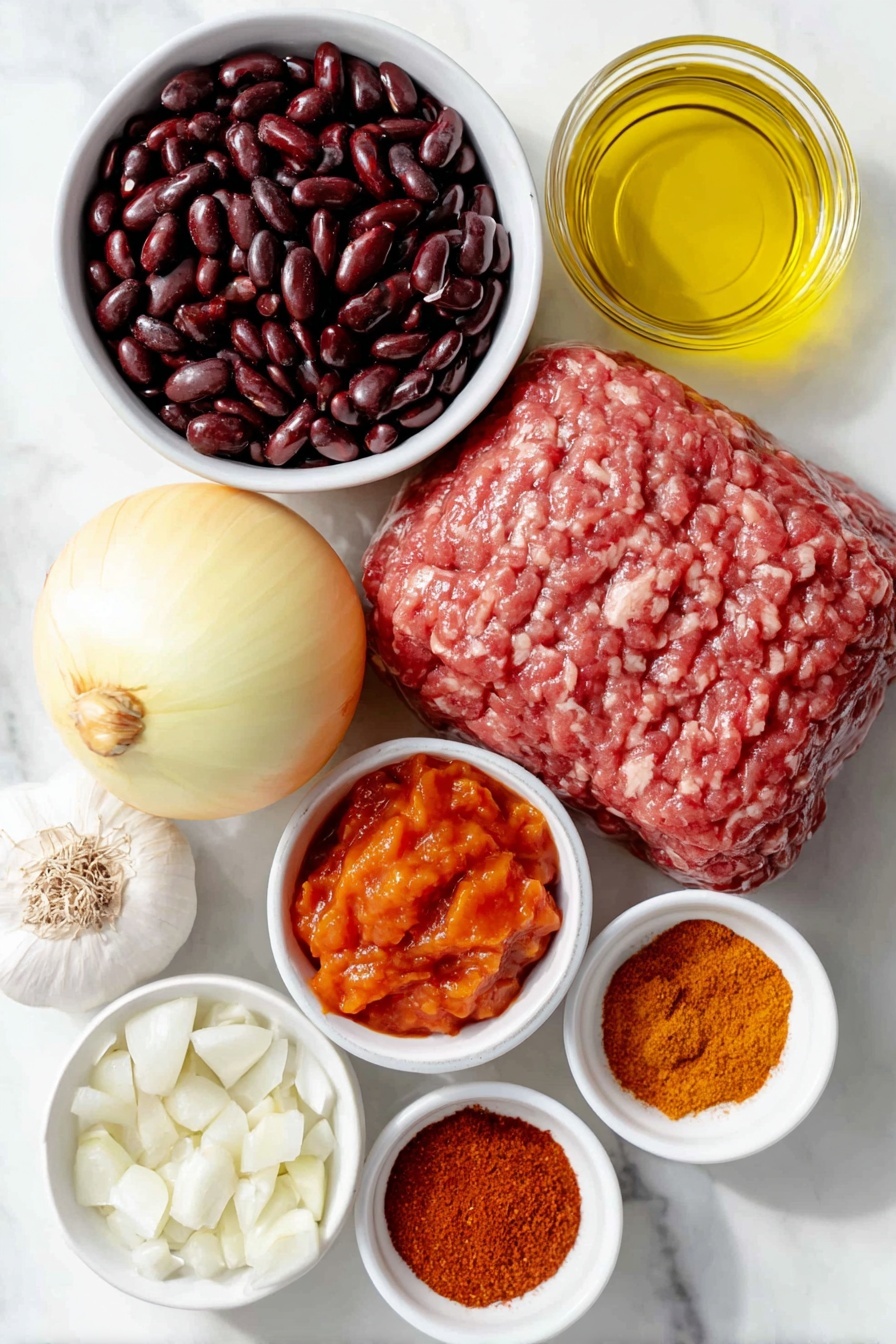
Every ingredient in this Pumpkin Chili Recipe has a role to play, from building layers of flavor to providing texture and nutrition. Choosing quality basics like fresh garlic and onion really sets a solid foundation.

- Garlic: Freshly minced garlic gives that essential aromatic punch to the base.
- Yellow onion: Adds sweetness and depth—don't skip sautéing it until tender!
- Olive oil: For gentle sautéing without overpowering other flavors.
- Ground beef: Brings heartiness and protein, plus browning it develops those rich meaty notes.
- Kidney and black beans: These boost fiber and add contrasting textures.
- Petite diced tomatoes: Their acidity brightens and balances the rich pumpkin.
- Pumpkin purée: This is the star—smooth, slightly sweet, and creamy without heaviness.
- Tomato paste: Concentrated tomato flavor helps thicken the chili and rounds everything out.
- Water: To keep the chili saucy and allow flavors to meld during simmering.
- Chili powder, smoked paprika, cumin, garlic & onion powders, black pepper, salt: These spices provide warmth, smokiness, and seasoning—adjust to your taste!
Make It Your Way
One of the things I love most about this Pumpkin Chili Recipe is how easy it is to adapt. Sometimes, I like it with a bit more heat, and other times I add extra beans to stretch it out. Feel free to make this recipe truly your own.
- Variation: When hosting friends who prefer vegetarian options, I swap the ground beef for hearty chopped mushrooms or lentils—still delicious and filling!
- Spice level adjustment: Don’t hesitate to add extra chili powder or a dash of cayenne if you like things spicy.
- Seasonal twist: In fall, I toss in a pinch of cinnamon or nutmeg to amplify that pumpkin vibe.
Step-by-Step: How I Make Pumpkin Chili Recipe
Step 1: Sauté your aromatics until fragrant and tender
Start by mincing your garlic and dicing your yellow onion. Heat olive oil in a large pot over medium heat, then add your garlic and onion. Cook them until the onions turn translucent and soft—about five minutes. This step builds a flavorful base, so don’t rush it!
Step 2: Brown the ground beef perfectly
Add the ground beef to the pot. Break it up with your spoon or spatula and cook until it’s browned all over and no longer pink. This caramelization adds richness and depth to your chili, so make sure you give it time without stirring too often.
Step 3: Layer in the beans, pumpkin, tomatoes, and spices
Once your beef is ready, add the drained kidney and black beans, diced tomatoes with juices, pumpkin purée, tomato paste, water, and your carefully measured spices. Stir everything to combine well—this is where the magic happens as all the flavors start marrying together.
Step 4: Simmer gently and let flavors develop
Pop a lid on your pot and bring your chili up to a slow simmer. Keep the heat low once it bubbles and stir occasionally, allowing it to cook for about 30 minutes. This simmering time lets your pumpkin-infused chili flavor truly deepen.
Step 5: Taste and finish with seasoning
After simmering, give the chili a careful taste and add extra salt if needed. Sometimes I like to throw in a pinch more chili powder or smoked paprika here depending on the mood. Serve hot and get ready for compliments!
Top Tip
I’ve made this Pumpkin Chili Recipe dozens of times, and over those tries, I’ve picked up a few little tricks that really make a difference. They’ll help keep your chili balanced and incredibly flavorful every time you make it.
- Don’t Skip Sautéing: Rushing the onion and garlic step means missing out on their full flavor potential. Take your time here!
- Brown the Meat Well: I learned that letting the beef brown without stirring too much creates better flavor depth.
- Simmer Low and Slow: Keep a gentle simmer rather than a rolling boil to let flavors meld beautifully without toughening the meat.
- Adjust Seasoning Last: The pumpkin can mellow flavors, so don’t hesitate to up your spices at the end for that perfect punch.
How to Serve Pumpkin Chili Recipe

Garnishes
I love topping my pumpkin chili with a dollop of sour cream for creaminess, shredded sharp cheddar cheese for richness, and a handful of chopped green onions for freshness and crunch. A few corn chips on the side add a fun salty crunch that’s hard to beat.
Side Dishes
For sides, I usually go with simple cornbread or a warm crusty bread to soak up all the delicious chili juices. Sometimes a crisp green salad helps balance the warm, rich flavors if I’m in a lighter mood.
Creative Ways to Present
Once for a cozy dinner party, I served this pumpkin chili inside mini pumpkin bowls (hollowed out small sugar pumpkins). It looked festive and always sparks conversation. You can also serve it over rice or baked potatoes for a comforting twist.
Make Ahead and Storage
Storing Leftovers
I usually let the chili cool completely, then transfer leftovers to an airtight container. It keeps beautifully in the fridge for about 3 to 4 days, and honestly, the flavors often taste richer the next day.
Freezing
This Pumpkin Chili Recipe freezes wonderfully. I portion it out into freezer-safe containers and it keeps well for up to 3 months. Just be sure to leave some room at the top for expansion.
Reheating
I reheat leftover chili gently on the stove over medium-low heat, stirring occasionally so it warms evenly without sticking. If it thickens too much, a splash of water or broth helps loosen it up.
Frequently Asked Questions:
Absolutely! Simply omit the ground beef and add extra beans or cooked lentils for protein. You can also add diced mushrooms for a meaty texture. Adjust the seasonings accordingly to keep it flavorful.
Use plain canned pumpkin purée—not pumpkin pie filling, as it contains added sugars and spices. The unsweetened purée gives the chili its creamy texture and mild sweetness without overpowering the other flavors.
Yes! Brown the beef and sauté the aromatics first, then transfer everything to your slow cooker. Cook on low for 6–8 hours or high for about 3–4 hours, stirring occasionally if possible. The slow cooker makes the flavors even more blended.
This recipe is mildly spiced by default, but you can easily increase the chili powder or add cayenne pepper to suit your heat preference. It’s very adaptable for varying spice tolerances!
Final Thoughts
This Pumpkin Chili Recipe is one of those delightful surprises that sneak a little something special into your weeknight rotation. It’s warm, comforting, and just different enough to become a conversation starter. I can’t recommend giving it a try enough—you might just find your new favorite chili!
Print
Pumpkin Chili Recipe
- Prep Time: 10 minutes
- Cook Time: 40 minutes
- Total Time: 50 minutes
- Yield: 6 servings
- Category: Main Course
- Method: Stovetop
- Cuisine: American
Description
This easy pumpkin chili is a hearty and flavorful twist on classic chili, combining ground beef, beans, diced tomatoes, and pumpkin purée with a blend of chili spices. Perfect for a comforting meal, it simmers gently to develop rich flavors and serves 6 generous portions.
Ingredients
Chili
- 2 cloves garlic
- 1 yellow onion
- 2 tablespoon olive oil
- 1 lb ground beef
- 1 15 oz can kidney beans, drained
- 1 15 oz can black beans, drained
- 1 15 oz can petite diced tomatoes
- 1 15 oz can pumpkin purée
- 5 tablespoon tomato paste (½ 6 oz can)
- 2 cups water
Chili Seasoning
- 1 tablespoon chili powder
- ½ teaspoon smoked paprika
- 1 teaspoon ground cumin
- ¼ teaspoon garlic powder
- ½ teaspoon onion powder
- ¼ teaspoon freshly cracked black pepper
- 1 teaspoon salt
Instructions
- Prep aromatics: Mince the garlic and dice the onion. Add the garlic, onion, and olive oil to a large pot.
- Sauté aromatics: Sauté the onion and garlic over medium heat until the onions are tender, about 5 minutes.
- Cook beef: Add the ground beef to the pot and cook until browned and fully cooked through, breaking it up as it cooks.
- Add ingredients: Stir in the drained kidney beans, drained black beans, diced tomatoes with juices, pumpkin purée, tomato paste, water, and all chili seasoning spices. Mix well to combine.
- Simmer chili: Cover the pot with a lid and bring the chili to a gentle simmer. Cook for 30 minutes, stirring occasionally to prevent sticking and help flavors meld.
- Adjust seasoning & serve: Taste the chili and add more salt if needed. Serve hot with your favorite toppings such as sour cream, cheese, green onions, or corn chips.
Notes
- You can substitute your own store-bought chili seasoning or your favorite spice blend for the chili seasoning listed.
- For a vegetarian version, replace ground beef with plant-based meat or additional beans and omit meat entirely.
- Use a heavy-bottomed pot like a Dutch oven for even cooking and to prevent burning.
- Leftovers taste great the next day and can be refrigerated for up to 3 days or frozen for up to 3 months.
Nutrition
- Serving Size: 1.25 cups
- Calories: 320 kcal
- Sugar: 6 g
- Sodium: 650 mg
- Fat: 12 g
- Saturated Fat: 4 g
- Unsaturated Fat: 7 g
- Trans Fat: 0 g
- Carbohydrates: 28 g
- Fiber: 7 g
- Protein: 22 g
- Cholesterol: 65 mg


Leave a Reply