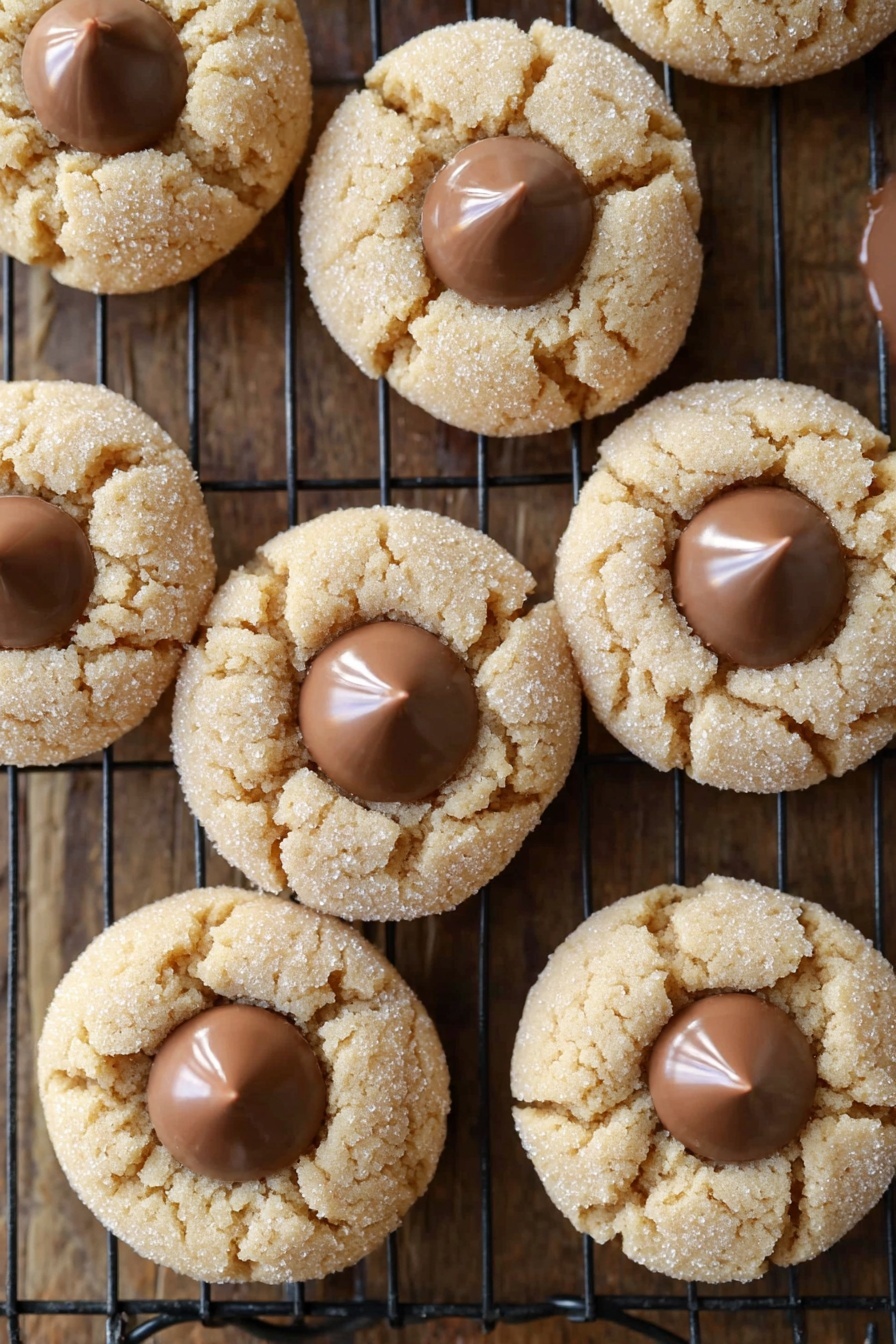
There's something truly comforting about the warm, nostalgic charm of the Classic Peanut Butter Blossoms Recipe. The perfect balance between peanut butter softness and that iconic chocolate kiss on top makes these cookies an all-time favorite that's worth every bite you’ll savor.
Jump to:
Why You'll Love This Recipe
I’ve made these cookies countless times, and every batch feels like a hug from my childhood. They’re quick, simple, and simply irresistible—no wonder so many people request them for holidays or casual get-togethers.
- Simple Ingredients: You probably already have everything in your pantry, making it super easy to whip these up anytime.
- Iconic Flavor Combo: The peanut butter mixed with the melty chocolate kiss on top creates a classic cookie experience that never gets old.
- Quick Baking Time: These cookies bake in just around 10 minutes, so you’re never waiting long to enjoy fresh treats.
- Perfect Texture: Soft and chewy on the inside, slightly crisp at the edges—exactly how peanut butter cookies should be.
Ingredients & Why They Work
This recipe uses a classic lineup of ingredients that come together beautifully to create those iconic peanut butter cookies with a twist. Each plays a key role in delivering flavor, texture, and that delightful bite.
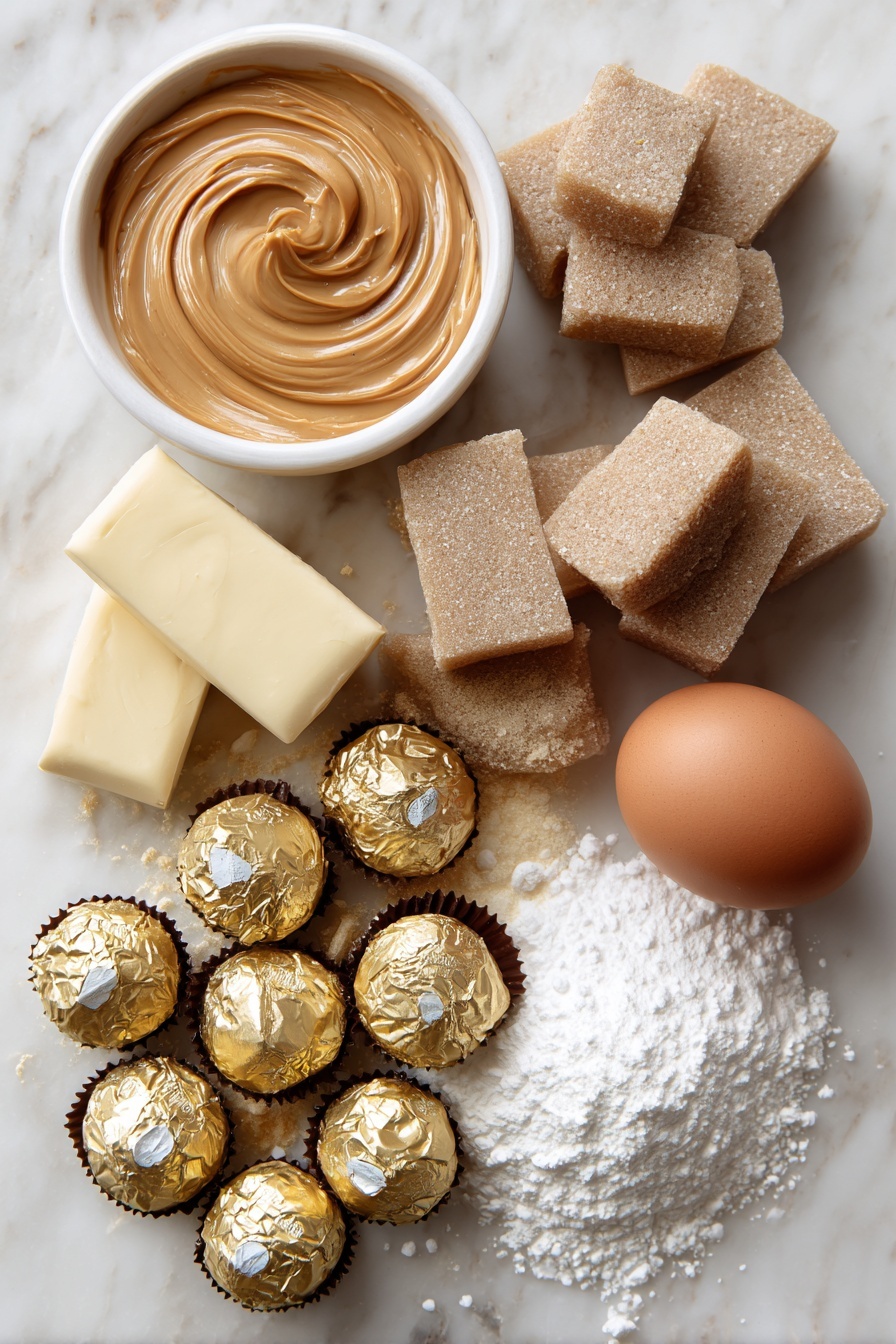
- Granulated Sugar: Helps create a light, slightly crispy exterior and is perfect for rolling the dough balls to give that sugary sparkle.
- Brown Sugar: Adds moistness and a subtle caramel undertone, which deepens the cookie’s flavor.
- Creamy Peanut Butter: This is the star ingredient that provides that rich, nutty taste and tender texture. I always use a good-quality creamy peanut butter for the smoothest dough.
- Unsalted Butter: Softened, it enriches the dough and contributes to softness. Using unsalted lets you control the salt balance in the cookie.
- Egg: Binds everything together while adding moisture for that perfect chew.
- All-Purpose Flour: The structure builder, making sure the cookies hold their shape but stay soft inside.
- Baking Soda & Baking Powder: These leaveners give just the right lift so the cookies aren’t too dense but don’t spread too much either.
- Salt: Amplifies all the other flavors and balances the sweetness.
- Chocolate Candy Kisses: The iconic finishing touch—melting just enough to nestle perfectly atop each cookie.
Make It Your Way
One of my favorite things about this classic recipe is how adaptable it is. Whether you prefer your cookies a little sweeter, nuttier, or want to experiment with chocolate types, feel free to make this your own!
- Variation: Sometimes, I swap the classic milk chocolate kisses for dark chocolate ones to add a richer contrast that I adore. It adds depth and makes the cookie feel a bit more decadent.
- Dietary Twist: For a gluten-free version, try using a 1-to-1 gluten-free flour blend—you won’t believe how closely it mimics the original texture!
- Extra Crunch: Occasionally, I sprinkle some chopped peanuts on top with the chocolate kisses to give the cookies a lovely crunch and nutty surprise.
Step-by-Step: How I Make Classic Peanut Butter Blossoms Recipe
Step 1: Cream, Mix, and Blend
Start by preheating your oven to 375°F. Then, in a large bowl, I use an electric mixer on medium speed to blend the brown sugar, granulated sugar, creamy peanut butter, softened unsalted butter, and the egg until everything is wonderfully smooth and creamy. This step is crucial because it sets the base for that tender texture you’re after.
Step 2: Adding Dry Ingredients Just Right
Next, switch your mixer to low speed and gradually add the all-purpose flour, baking soda, baking powder, and salt. Mixing at low speed here prevents overworking the dough, which can make cookies tough. You want everything combined just until there are no flour streaks.
Step 3: Rolling in Sugar & Baking
Shape the dough into 1-inch balls. Here’s a little trick: rolling the balls in granulated sugar before baking creates that signature sparkly finish and adds a slight crunch that makes the cookie extra special. Place them on an ungreased baking sheet spaced about 2 inches apart to avoid merging together.
Bake one sheet at a time for 8-10 minutes until the edges look lightly golden but the center is still soft. This way, the cookies stay tender inside while developing a slight crisp on the outside.
Step 4: The Chocolate Kiss Finale
The moment the cookies come out of the oven, press a chocolate candy kiss right into the center of each cookie. The residual heat melts the bottom of the kiss just enough for it to stick perfectly without losing its shape. Then transfer cookies to a wire rack to cool completely—about an hour—to let the chocolate set before serving.
Top Tip
After making these cookies many times, I’ve learned a few little tweaks that really help you get that perfect peanut butter blossom every single time.
- Use Room Temperature Egg & Butter: This ensures they mix evenly without any lumps, creating a smoother dough.
- Don’t Overbake: Pull the cookies out when the edges just begin to turn golden but the centers still look soft—this keeps them chewy and tender.
- Roll Dough Balls in Sugar: It adds a delightful shimmer and subtle crunch that’s such a joyful little detail.
- Press Chocolate Kisses Immediately: While the cookies are hot to ensure the chocolate melts just enough to stick but stays nice and shaped.
How to Serve Classic Peanut Butter Blossoms Recipe
Garnishes
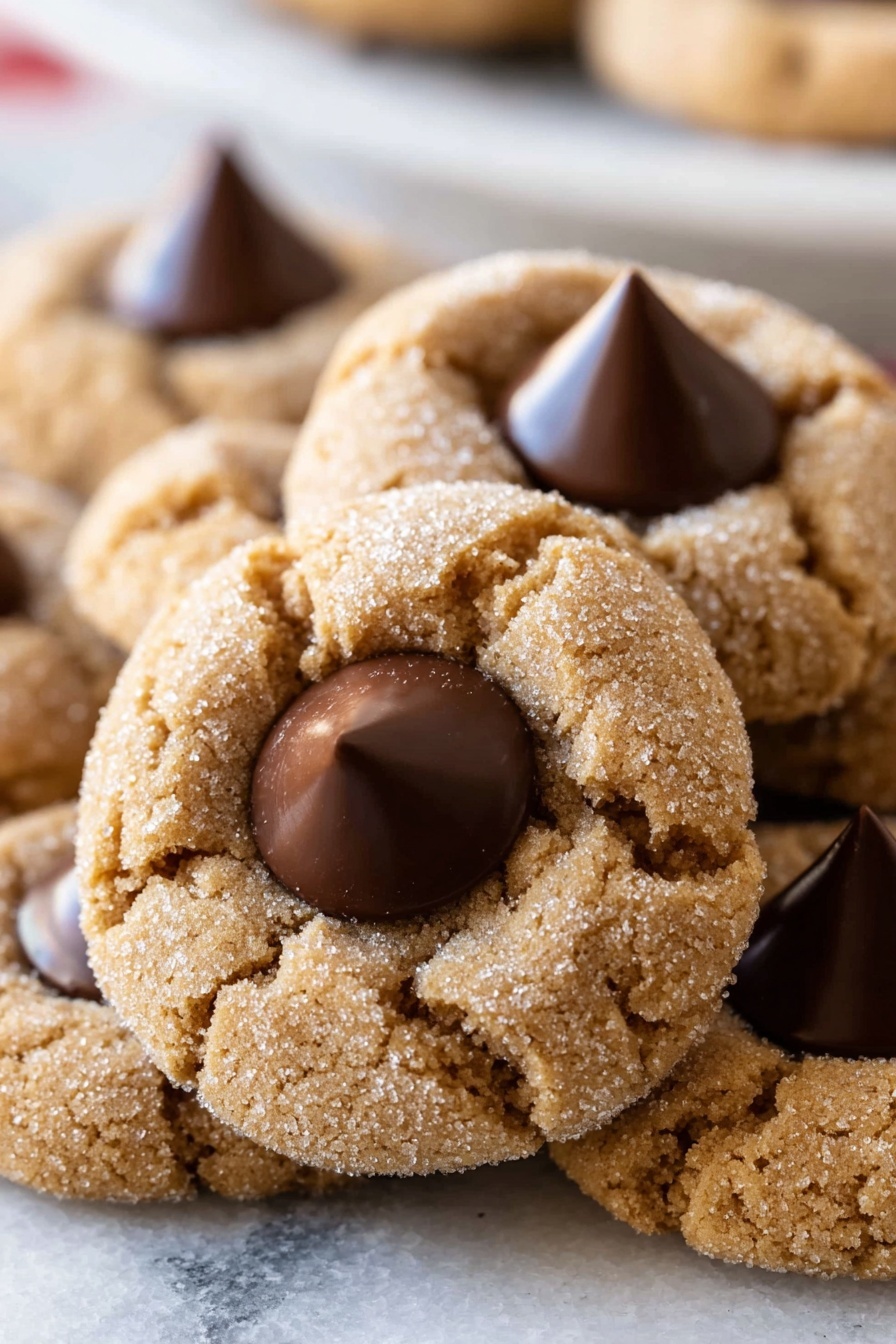
I usually keep it simple with the classic chocolate kiss on top, but occasionally I like sprinkling a pinch of sea salt right before baking for a sweet-salty hit. Some friends also love a light dusting of powdered sugar after baking—adds such a pretty, festive touch.
Side Dishes
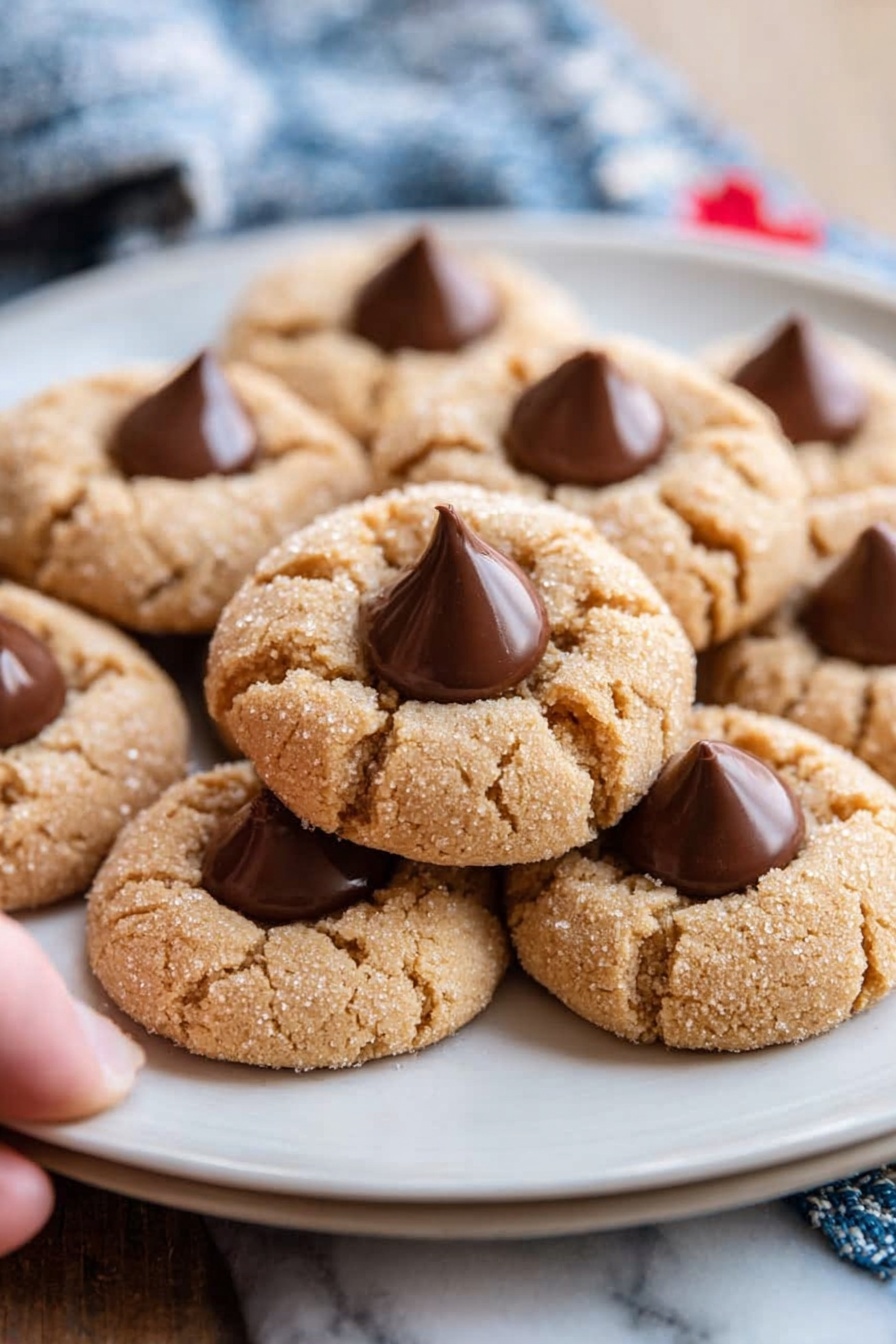
These cookies pair wonderfully with a cold glass of milk, but for gatherings, I often serve them alongside vanilla ice cream or a hot cup of coffee or cocoa. The combination brings out the flavor and makes snack time feel special.
Creative Ways to Present
For holiday parties, I’ve arranged these peanut butter blossoms on a tiered cookie platter, alternating with festive-colored sprinkles on some rolls. Another time, I packaged them in cellophane bags tied with cute ribbons—perfect for gifting!
Make Ahead and Storage
Storing Leftovers
I keep fresh cookies in an airtight container at room temperature. They stay soft and delicious for about 4-5 days—if they last that long! Sometimes I place wax paper between layers to keep them from sticking.
Freezing
These cookies freeze beautifully. I freeze them baked and cooled in single layers on a baking sheet first, then transfer them to freezer bags. When ready, thaw at room temperature for a couple of hours. The chocolate holds up nicely, and the texture stays wonderful.
Reheating
If you want that fresh-baked warmth, pop a few cookies in the microwave for about 10 seconds. The chocolate softens delightfully, and the cookie softens just right without drying out.
Frequently Asked Questions:
Yes, you can absolutely use chunky peanut butter if you prefer a bit of texture in your cookies. Just keep in mind the texture will be a bit different, but it adds a nice crunch that some people really enjoy!
Pressing the chocolate immediately while the cookie is hot allows it to soften slightly and stick perfectly without melting completely. If you wait too long, the kiss won’t adhere as well and might slide off.
Yes! You can prepare the dough, shape it into balls, and refrigerate them for up to 24 hours before baking. Just remember to roll them in sugar before placing them on the baking sheet.
Using chilled dough balls helps reduce spreading. Also, make sure to space cookies adequately on the baking sheet. Using baking powder along with baking soda in this recipe helps control the rise and spread as well.
Final Thoughts
There’s really nothing like the joy these Classic Peanut Butter Blossoms Recipe bring to any table, whether it’s a holiday feast or just an everyday treat. I hope you enjoy baking and sharing these as much as I do—it’s one of those recipes that feels like a warm, familiar friend every time you make it. So, roll up your sleeves and treat yourself to a batch; you won’t regret it!
Print
Classic Peanut Butter Blossoms Recipe
- Prep Time: 15 minutes
- Cook Time: 10 minutes
- Total Time: 25 minutes
- Yield: 24 cookies
- Category: Dessert
- Method: Baking
- Cuisine: American
Description
Classic Peanut Butter Blossoms are chewy peanut butter cookies topped with a rich chocolate candy kiss. This beloved treat combines the nutty flavor of peanut butter with sweet chocolate, perfect for holidays or any occasion.
Ingredients
Cookie Dough
- ½ cup granulated sugar, plus extra for dusting
- ½ cup brown sugar, packed
- ½ cup creamy peanut butter
- ½ cup unsalted butter, softened
- 1 large egg, at room temperature
- 1 ½ cups all-purpose flour
- 1 teaspoon baking soda
- ½ teaspoon baking powder
- ¼ teaspoon salt
Topping
- 24 chocolate candy kisses, such as Hershey's
Instructions
- Preheat Oven: Preheat your oven to 375°F to ensure it reaches the perfect baking temperature as you prepare the dough.
- Mix Wet Ingredients: In a large bowl, combine the brown sugar, granulated sugar, creamy peanut butter, softened unsalted butter, and egg. Use an electric mixer on medium speed to blend until the mixture is smooth and well combined.
- Add Dry Ingredients: Reduce mixer speed to low and gradually add the all-purpose flour, baking soda, baking powder, and salt. Mix until just combined to avoid overworking the dough.
- Shape and Roll Dough: Shape the dough into 1-inch balls. Roll each ball in granulated sugar thoroughly for a slightly crunchy exterior once baked.
- Arrange on Baking Sheet: Place the sugar-coated dough balls on an ungreased baking sheet, spacing them 2 inches apart to allow room for spreading.
- Bake Cookies: Bake one sheet at a time in the preheated oven for 10 minutes, or until the cookie edges turn a light golden brown.
- Press Chocolate Kisses: Remove the cookies from the oven and immediately press one chocolate candy kiss into the center of each cookie. This step helps the kiss adhere as the cookies cool.
- Cool on Wire Rack: Transfer the cookies to a wire rack and allow them to cool for about 1 hour. This cooling time lets the chocolate set perfectly.
- Repeat: Repeat the baking and pressing process with any remaining dough and chocolate candies until all cookies are baked and topped.
Notes
- Make sure the butter is softened at room temperature for easier mixing.
- Rolling the dough balls in sugar before baking adds a delightful texture to the cookies' exterior.
- Baking one sheet at a time ensures even cooking and consistent cookie texture.
- For a festive twist, try using different flavored chocolate kisses or adding a sprinkle of sea salt on top before baking.
- Store cookies in an airtight container at room temperature for up to one week to maintain freshness.
Nutrition
- Serving Size: 1 cookie
- Calories: 110 kcal
- Sugar: 9 g
- Sodium: 80 mg
- Fat: 6 g
- Saturated Fat: 2 g
- Unsaturated Fat: 3 g
- Trans Fat: 0 g
- Carbohydrates: 12 g
- Fiber: 1 g
- Protein: 2 g
- Cholesterol: 15 mg



Leave a Reply